As the University of Calgary Cybersecurity Club, also known as CYBERSEC , continues to grow — now with around 30 members — the need for a more efficient and secure method to store credentials has become evident.
Previously, we stored all of our credentials in a shared Bitwarden vault . While this solution worked, it introduce several challenges. Most notably, compromising the master key would jeopardize the entire organization. Additionally, we aim to follow the principle of “least privilege” access, streamline the onboarding and offboarding of members, and have better forensic capabilities in case of a breach.
After some research, we decided to implement our own instance of Psono . We’ll primarily follow Psono’s official documentation, making modifications where necessary and highlighting important notes along the way.
Index
- Index
- Prerequisites
- Step 1: Set Up the PostgreSQL Database
- Step 2: Generate the Required Keys
- Step 3: Configure
settings.yaml - Step 4: Prepare the Database
- Step 5: Set Up the Client
- Step 6: Run the Server
- Step 7: Set Up a Reverse Proxy with SSL
- Step 8: Set Up Docker Compose
- Step 9: Schedule a Cron Job to Clear Tokens
- Step 10: Create and Promote an Admin User
- 🎉 E Voilà!
- Final Notes
Prerequisites
You must have Docker Engine installed. If you don’t already have it, follow the official Docker documentation here .
Step 1: Set Up the PostgreSQL Database
We’ll start by running PostgreSQL in a Docker container:
First create a volume folder for your data:
sudo mkdir -p /opt/docker/psono/postgres
Second Run the database:
docker run --name psono-database \
 -v /opt/docker/psono/postgres:/var/lib/postgresql/data \
 -e POSTGRES_USER=$POSTGRES_USER \
 -e POSTGRES_PASSWORD=$POSTGRES_PASSWORD \
 -d --restart=unless-stopped \
 -p 5432:5432 postgres:13-alpine
It’s recommended to store sensitive information like POSTGRES_USER and POSTGRES_PASSWORD in a .env file.
Step 2: Generate the Required Keys
docker run --rm -ti psono/psono-combo:latest python3 ./psono/manage.py generateserverkeys
Step 3: Configure settings.yaml
Start by copying the template provided in the Psono installation guide
. Add them to /opt/docker/psono/settings.yaml.
3.1 Set the Host URL
- Create a DNS record pointing to your server’s IP address.
- Example: using Cloudflare

- Update the
HOST_URLandWEB_CLIENT_URLinsettings.yamlaccordingly.
3.2 Configure SMTP for Email Registration
We will use Gmail for SMTP in this example:
- Ensure you have a Gmail account.
- Enable 2-Step Verification.
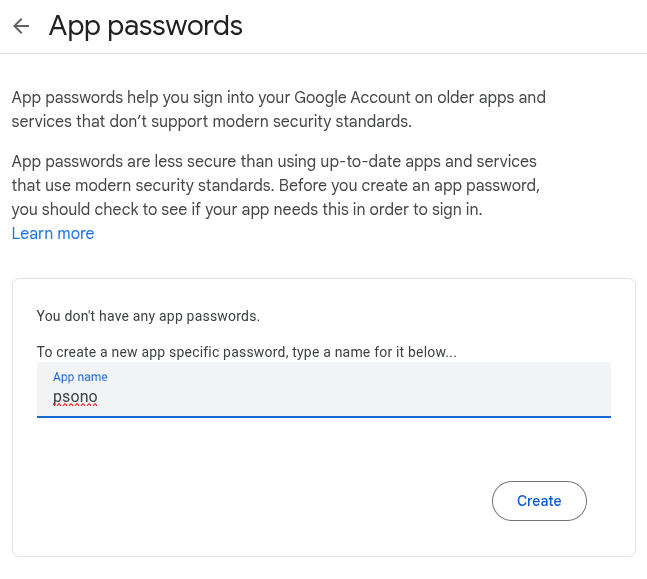
- Create an App Password specifically for Psono.

- Test your SMTP settings using GMass SMTP Test
.

Then, configure settings.yaml:
EMAIL_FROM: 'user@gmail.com'
EMAIL_HOST: 'smtp.gmail.com'
EMAIL_HOST_USER: 'smtp.something@gmail.com'
EMAIL_HOST_PASSWORD: 'fake pass word yeah'
EMAIL_PORT: 465
EMAIL_SUBJECT_PREFIX: ''
EMAIL_USE_TLS: False
EMAIL_USE_SSL: True
EMAIL_SSL_CERTFILE:
EMAIL_SSL_KEYFILE:
EMAIL_TIMEOUT: 10
To verify the SMTP configuration:
docker run --rm \
  -v /opt/docker/psono/settings.yaml:/root/.psono_server/settings.yaml \
  -ti psono/psono-combo:latest python3 ./psono/manage.py sendtestmail something@something.com

3.3 Configure the Database Connection
Add the database configuration to your settings.yaml:
DATABASES:
  default:
    ENGINE: 'django.db.backends.postgresql_psycopg2'
    NAME: 'user'
    USER: 'user'
    PASSWORD: 'securepasswordforsure'
    HOST: 'psono-database'
    PORT: '5432'
Step 4: Prepare the Database
When running the default migration command provided in Psono’s documentation:
docker run --rm \
  -v /opt/docker/psono/settings.yaml:/root/.psono_server/settings.yaml \
  -ti psono/psono-combo:latest python3 ./psono/manage.py migrate

You may encounter connection issues because containers connected to the default bridge network cannot resolve each other’s names reliably.
Solution:
- Create a custom Docker network:
docker network create psono-network
- Connect the database container:
docker network connect psono-network psono-database
- Then migrate using:
docker run --rm \
  --network psono-network \
  -v /opt/docker/psono/settings.yaml:/root/.psono_server/settings.yaml \
  -ti psono/psono-combo:latest python3 ./psono/manage.py migrate
Tip:
Using Docker Compose makes this process much cleaner. Here’s a minimal example:
services:
  psono-database:
    image: postgres:13-alpine
    container_name: psono-database
    environment:
      POSTGRES_USER: psono
      POSTGRES_PASSWORD: password
    volumes:
      - /opt/docker/psono/postgres:/var/lib/postgresql/data
    networks:
      - psono-network

  psono:
    image: psono/psono-combo:latest
    container_name: psono
    volumes:
      - /opt/docker/psono/settings.yaml:/root/.psono_server/settings.yaml
    networks:
      - psono-network
    depends_on:
      - psono-database

networks:
  psono-network:
    driver: bridge
Step 5: Set Up the Client
Create a config.json (e.g., /opt/docker/psono-client/config.json):
{
  "backend_servers": [{
    "title": "Psono.pw",
    "url": "https://psono.example.com/server"
  }],
  "base_url": "https://psono.example.com/",
  "allow_custom_server": true,
  "allow_registration": true,
  "allow_lost_password": true,
  "disable_download_bar": false,
  "remember_me_default": false,
  "trust_device_default": false,
  "authentication_methods": ["AUTHKEY", "LDAP"],
  "saml_provider": []
}
Make sure to replace psono.example.com with your domain name.
You can also add a "domain": "other.com", entry to specify an alternative login domain. If you do, make sure to also include it in the ALLOWED_DOMAINS: ['example.com'] section of your settings.yaml.
Step 6: Run the Server
Start the server manually for testing:
docker run --name psono-combo \
  --sysctl net.core.somaxconn=65535 \
  --network psono-network \
  -v /opt/docker/psono/settings.yaml:/root/.psono_server/settings.yaml \
  -v /opt/docker/psono-client/config.json:/usr/share/nginx/html/config.json \
  -v /opt/docker/psono-client/config.json:/usr/share/nginx/html/portal/config.json \
  -d --restart=unless-stopped \
  -p 10200:80 \
  psono/psono-combo:latest
Visit http://your-ip:10200/server/info/ to verify that the server is running.
Step 7: Set Up a Reverse Proxy with SSL
Install Nginx
sudo apt install nginx
Install Certbot
sudo apt update
sudo apt install certbot
sudo apt install python3-certbot
Obtain the SSL Certificate
sudo certbot certonly --standalone -d psono.example.com
Provide an email address for renewal reminders.
Configure Nginx
Create /etc/nginx/sites-available/psono.example.com.conf:
server {
    listen 80;
    server_name psono.example.com;
    return 301 https://$host$request_uri;
}

server {
    listen 443 ssl http2;
    server_name psono.example.com;

    ssl_certificate /etc/letsencrypt/live/psono.example.com/fullchain.pem;
    ssl_certificate_key /etc/letsencrypt/live/psono.example.com/privkey.pem;

    proxy_redirect off;

    ssl_protocols TLSv1.2;
    ssl_prefer_server_ciphers on;
    ssl_ciphers 'ECDHE-ECDSA-AES256-GCM-SHA384:ECDHE-RSA-AES256-GCM-SHA384:...';

    add_header Referrer-Policy same-origin;
    add_header X-Frame-Options DENY;
    add_header X-Content-Type-Options nosniff;
    add_header X-XSS-Protection "1; mode=block";

    add_header Content-Security-Policy "...";

    client_max_body_size 256m;

    gzip on;
    gzip_types text/plain text/css application/json application/javascript ...;

    root /var/www/html;

    location ~* \.(?:ico|css|js|gif|jpe?g|png|eot|woff|woff2|ttf|svg|otf)$ {
        expires 30d;
        proxy_pass http://localhost:10200;
        proxy_redirect http://localhost:10200 https://psono.example.com;
        proxy_set_header Host $host;
        proxy_set_header X-Real-IP $remote_addr;
        proxy_set_header X-Forwarded-For $proxy_add_x_forwarded_for;
        proxy_set_header X-Forwarded-Proto $scheme;
    }

    location / {
        proxy_pass http://localhost:10200;
        proxy_redirect http://localhost:10200 https://psono.example.com;
        proxy_set_header Host $host;
        proxy_set_header X-Real-IP $remote_addr;
        proxy_set_header X-Forwarded-For $proxy_add_x_forwarded_for;
        proxy_set_header X-Forwarded-Proto $scheme;
    }
}
Enable the configuration:
sudo ln -s /etc/nginx/sites-available/psono.example.com.conf /etc/nginx/sites-enabled/
sudo service nginx restart
Now your Psono server should be live at https://psono.example.com.

Step 8: Set Up Docker Compose
Stop any running containers:
docker stop psono-database
docker stop psono-combo
Create /opt/docker/psono/docker-compose.yml:
networks:
  psono-network:
    external: true

services:
  psono-database:
    image: postgres:13-alpine
    container_name: psono-database
    restart: unless-stopped
    environment:
      POSTGRES_USER: ${POSTGRES_USER}
      POSTGRES_PASSWORD: ${POSTGRES_PASSWORD}
    volumes:
      - /opt/docker/psono/postgres:/var/lib/postgresql/data
    ports:
      - "5432:5432"
    networks:
      - psono-network

  psono-server:
    image: psono/psono-combo:latest
    container_name: psono-combo
    restart: unless-stopped
    sysctls:
      net.core.somaxconn: 65535
    volumes:
      - /opt/docker/psono/settings.yaml:/root/.psono_server/settings.yaml
      - /opt/docker/psono-client/config.json:/usr/share/nginx/html/config.json
      - /opt/docker/psono-client/config.json:/usr/share/nginx/html/portal/config.json
    ports:
      - "10200:80"
    depends_on:
      - psono-database
    networks:
      - psono-network
Bring up the stack:
docker compose up -d
Step 9: Schedule a Cron Job to Clear Tokens
Edit your crontab:
crontab -e
Add the following line:
30 2 * * * /usr/bin/docker exec psono-combo python3 ./psono/manage.py cleartoken >> /var/log/cron.log 2>&1
Step 10: Create and Promote an Admin User
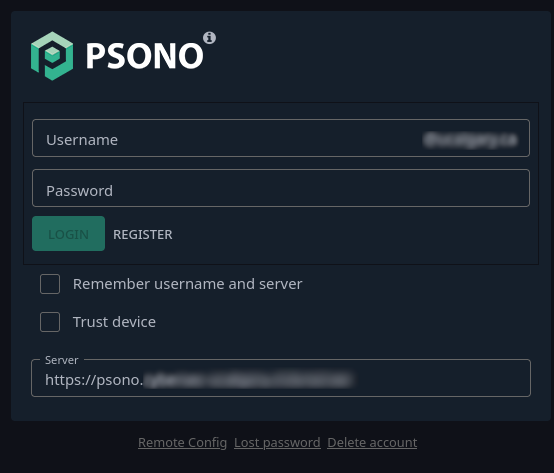
- Visit
https://psono.example.comand register a new account. - Confirm your registration via the activation email.
To promote the user to admin:
docker run --rm \
  --network psono_default \
  -v /opt/docker/psono/settings.yaml:/root/.psono_server/settings.yaml \
  -ti psono/psono-combo:latest python3 ./psono/manage.py promoteuser mcveigth@psono.example.com superuser
🎉 E Voilà!
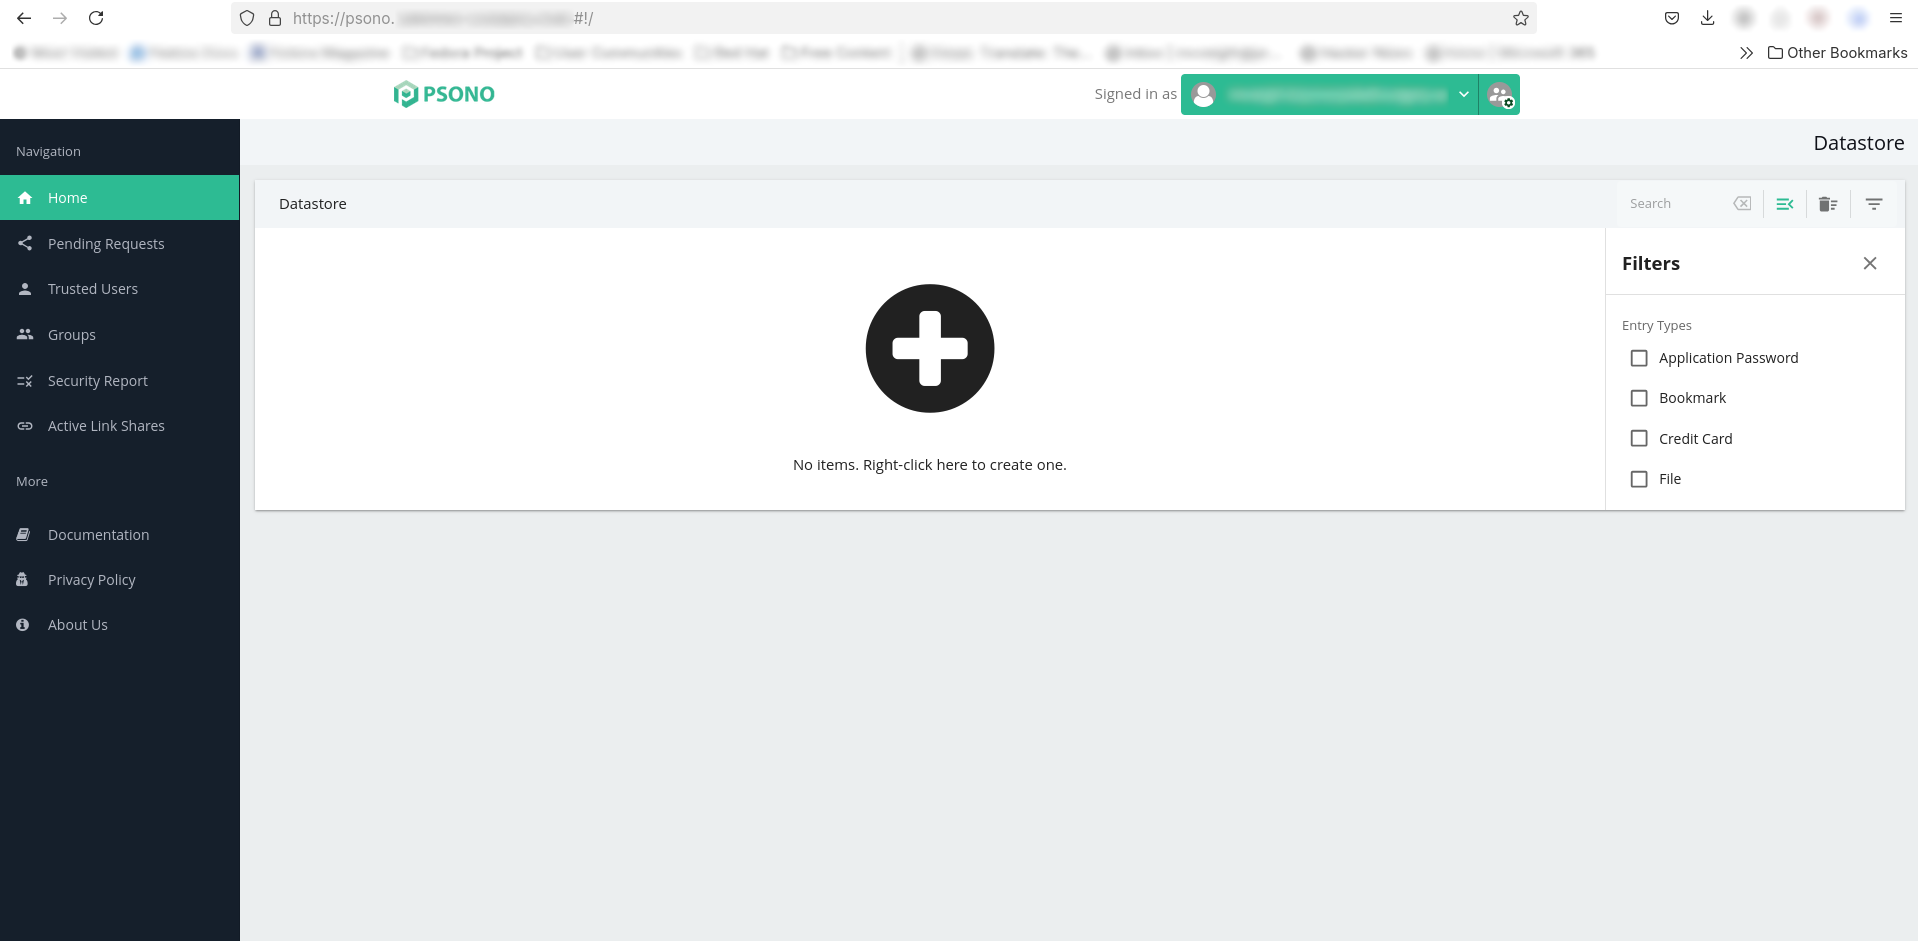
At this point, your Psono server should be fully operational — secured with SSL, backed by a persistent PostgreSQL database, and ready for user management.
Here’s a screenshot of everything running smoothly:

If you see something similar, congratulations — you now have a secure, self-hosted password management system tailored to your organization’s needs!
Final Notes
By deploying a secure, self-hosted Psono instance, we’ve taken a big step forward in protecting CYBERSEC’s credentials and improving operational security. This setup not only ensures better control over who can access sensitive information, but also allows us to enforce the principle of least privilege, streamline member onboarding and offboarding, and maintain forensic visibility in case of any issues.
Thanks to Docker, PostgreSQL, Nginx, and SSL encryption, our infrastructure is now production-ready and built to scale as the club continues to grow.
With the foundation in place, the next phase will focus on fine-tuning user and group policies to ensure that every member has exactly the access they need — no more, no less. This will further strengthen our security posture and support the club’s long-term success.
In a future article, we’ll cover how to create users, organize them into teams, configure permission sets, and enforce access control policies effectively.